A Copic Marker Scribble Background Technique
Have you ever done a Copic marker scribble background for one of your cards? It’s exactly what it sounds like: grab a few markers and scribble over a stencil until you like the look. The beauty of this technique is you don’t need to make a smooth blend since the streaky look is what you’re aiming for. And it’s a fast option if you need to make several cards, too.
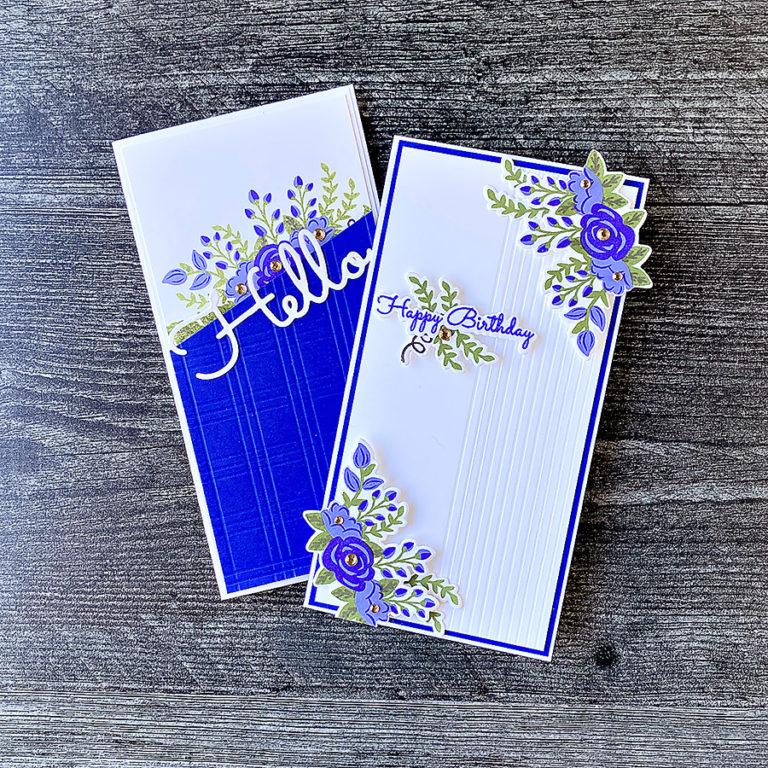
For the card today, I needed a little something to go behind this sentiment stamp from Whimsy Stamps called Wish Upon A Star. It was so funny – every time I read the words, the song got stuck in my head. I would be humming it for hours afterward!

To put this together, die cut a rectangle from a scratch piece of paper, line it up over your card front, and tape it down with some low tack painter’s tape or Post-It® Tape.
Grab two to three Copic markers ( I used V20, V22, and V25) and scribble back and forth until you get a look you like, then lift off your rectangle stencil. Don’t worry if the ink bled around the edges, that’s part of the beauty.
Stamp the stars with a light colored coordinating ink, then your sentiment with Versafine CLAIR in Nocturne (heat emboss with Detail Embossing Powder if you like), and trim the panel with your favorite frame die. I love the one that comes in the Card Builder Windows Die Set.

Finally, mat your card front with coordinating cardstock and adhere to your card base.
I hope you try out this scribble background technique on your next card. If you liked this card, please share the love by pinning to Pinterest!
PS – Here’s another scribble background from the archives.

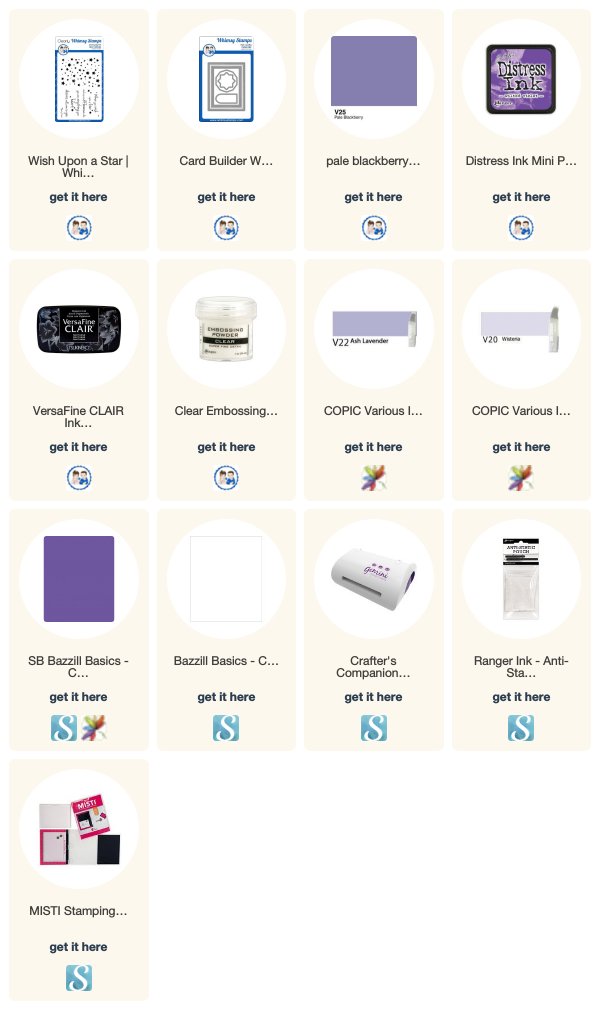
The links below are affiliate links to the products I used today. There’s no additional cost to you, and if you decide to click and shop, I really appreciate the support! Thank you!