Making Easy Card Backgrounds With Stripe Stamps
Stripes are my favorite pattern. Well, that and polka dots. Most of my closet is full of striped tops & shoes. They look so good with jeans, don’t they? And jeans are my everyday uniform since I work out of the house nowadays.
You know what else stripes look good on? Cards. I have a set from Whimsy Stamps called Get in Line, which I used today for both cards. That’s right, I made two for you!
Happy Birthday
The first one is a striped birthday card. I used Classic Crest in Solar White for the card base as well as the triangle overlay (from Shaker Maker Pennant Flags). I love how this card looks like an envelope or collared dress!

To make the striped background, I pulled off all the stripe images together (they are separate on the protective sheet) and lined them up inside a MISTI.
Next, I flipped my card one way to stamp the stripes with VersaFine CLAIR in Glamorous, then cleaned them and flipped the card the opposite direction to stamp in Verdant.
I layered the triangle pennant shape over the striped background with a bit of glue tape and stamped my sentiment and bow with black ink. Both images are from the Whimsy Stamps Elegant Gifts set. The bow itself is colored with a Copic R85 (Rose Red).
Simply Wonderful
The second card is made in much the same way, except the thicker stripes are on the outer edges instead of the middle. Again, I used Classic Crest for the card base.
I kept the stripe stamps in the MISTI between projects, so I didn’t need to reposition them. Then, I just stamped the images – straight on to the card base – with VersaFine CLAIR in Chianti on one side, and Golden Meadow on the other
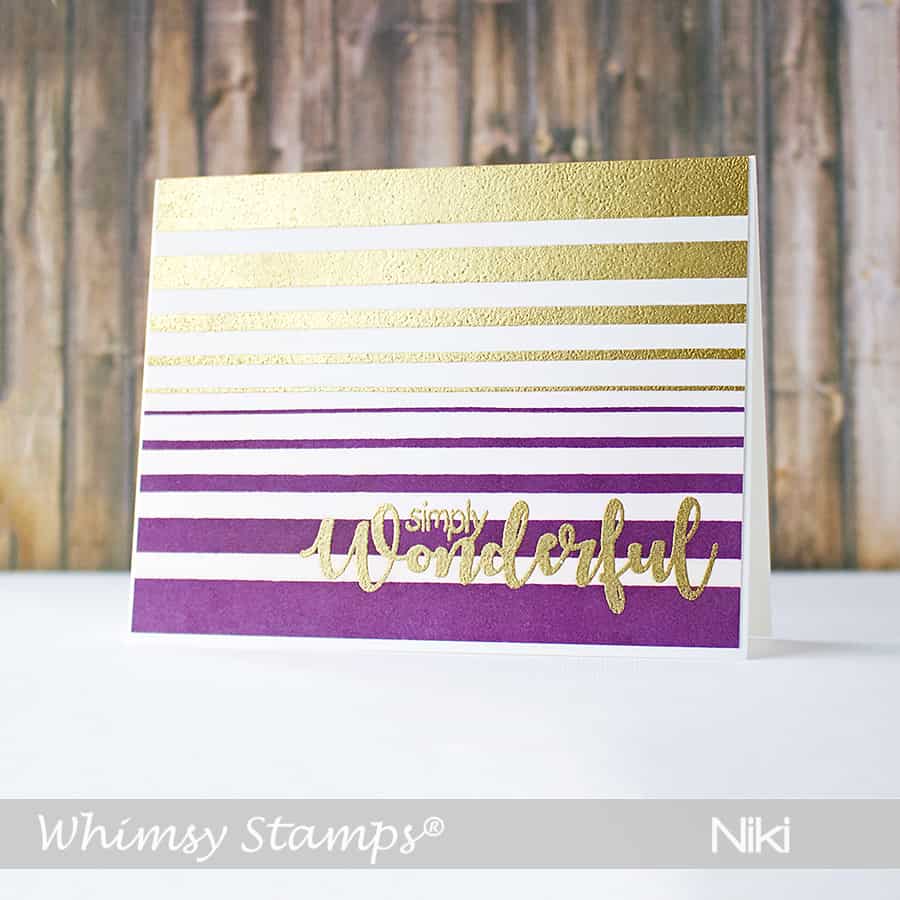
I used Golden Meadow to stamp the sentiment as well (after a heavy dusting of an anti-static pouch, since I was going to emboss), then covered all the yellow inked areas with Princess Gold embossing powder and melted it with a heat tool.
Thanks for stopping in today to see my cards! If you like them, please share the love by pinning to Pinterest – I’d really appreciate it, thank you!
PS – Here is another card from way back that has a stamped background, too.
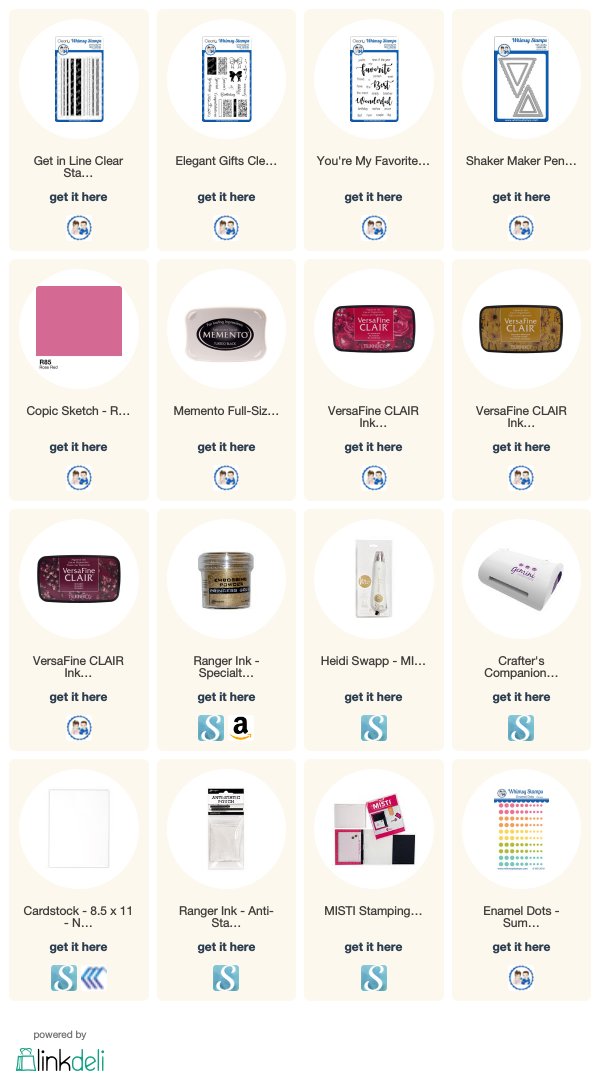
The links below are affiliate links to the products I used today. There’s no additional cost to you, and if you decide to click and shop, I really appreciate the support! Thank you!