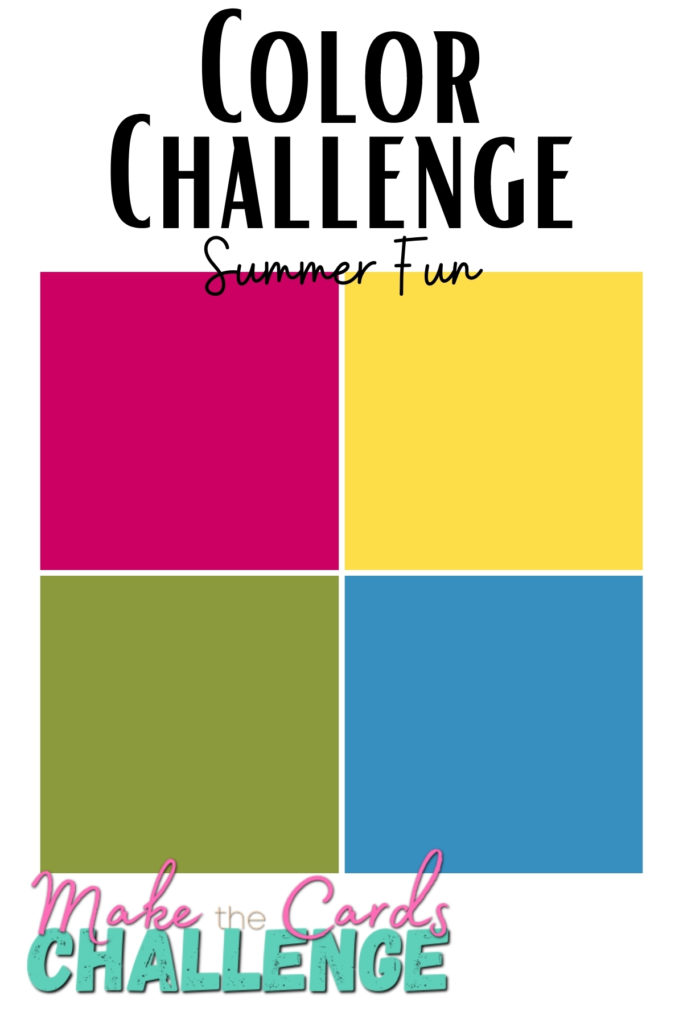
Ink Smooshed Background with Summer Colors
Hello! It’s been a minute, huh? Today I have for you an ink smooshed background that I made especially for the Make The Cards Challenge #24. I LOVE this color combo, don’t you? I use these same shades as highlighters in my planner 🙂
Here’s a tidbit of trivia for you – I’ve been making cards since 2014, and I have never tried ink smooshing. Crazy right? Have you tried doing it yet? It’s super fun, and I love the patterns you can create. Yes, even if you’re a bit of a control freak (*raises hand slowly*), it’s still a very enjoyable and easy way to make a background.
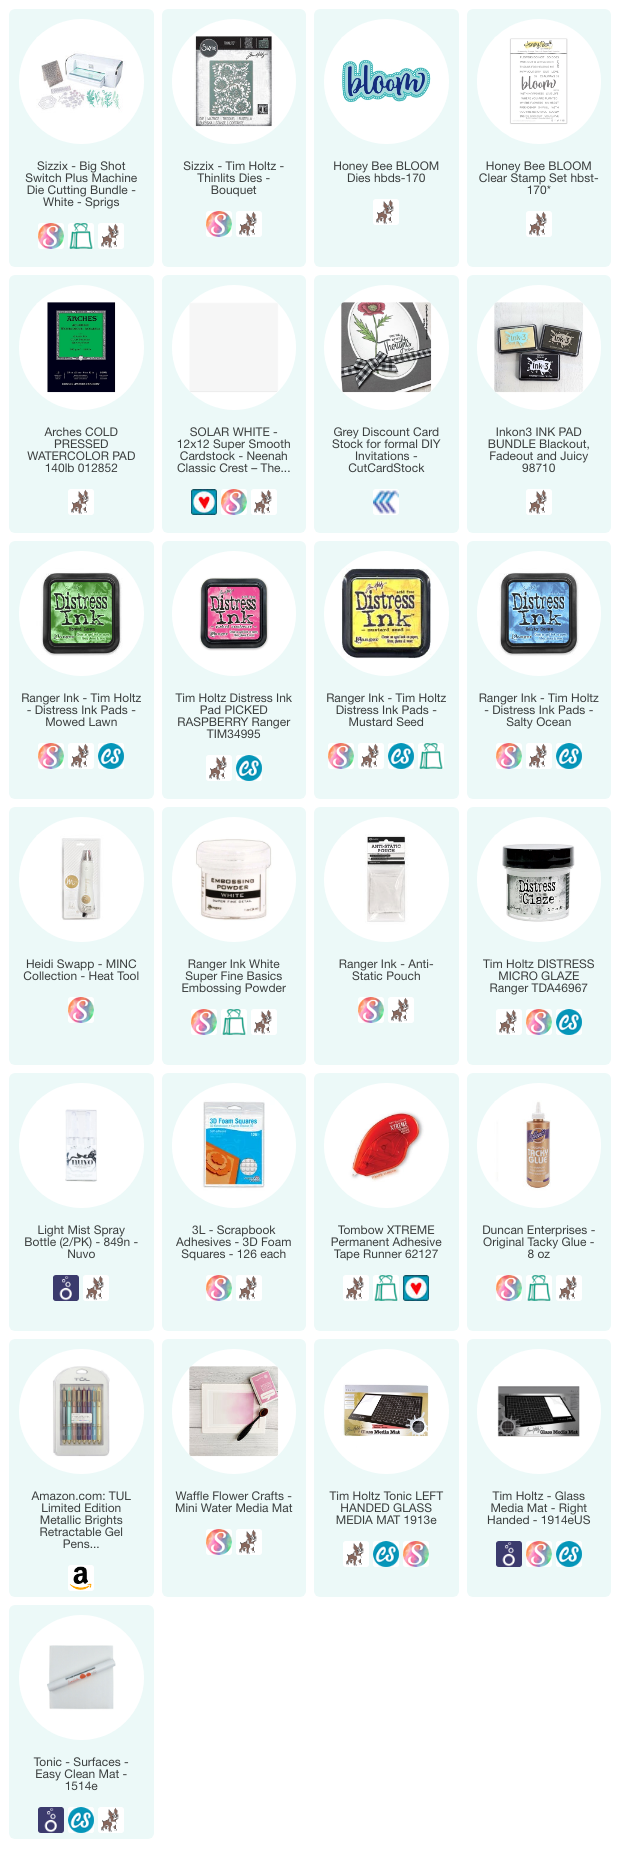
So what you need is some watercolor paper, whatever kind you like. I like the Arches Cold Press, but for this card, I just used a thick piece of regular smooth cardstock, about 120#. I’d tell you what kind of paper it is, but it’s actually my own brand. I have a ton leftover from my quilling store days.
Anyhow, to ink smoosh, you get a big nonstick sheet like this Nuvo splat mat. Or a glass mat or whatever you have that’s easy to clean.
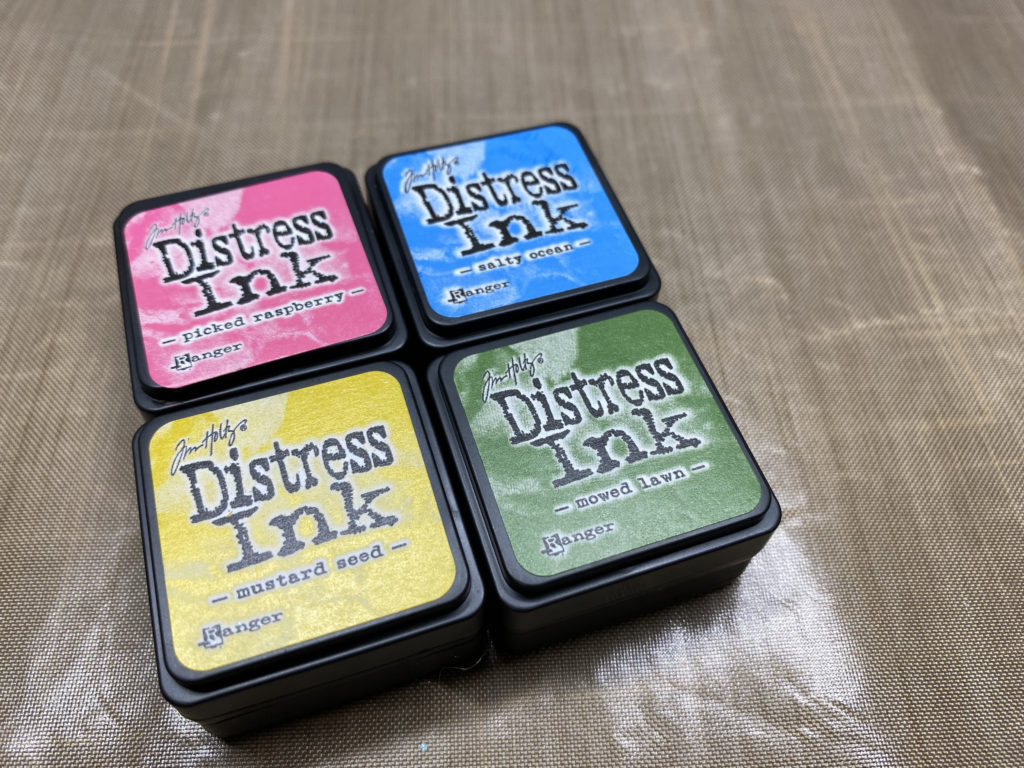
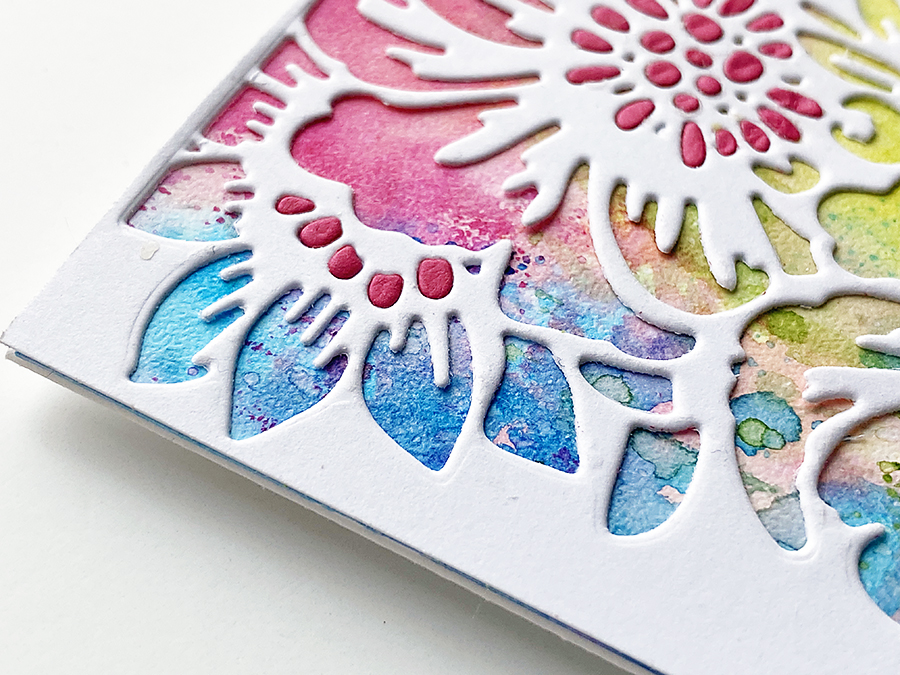
Then pick your colors. I chose Salty Ocean, Mustard Seed, Mowed Lawn, and Picked Raspberry Distress Inks. Next, you smoosh the ink pads down on your surface and spritz them with a mister like this Nuvo Light Mist bottle. Do enough to make the ink & water bead, then press your cardstock face down into it.
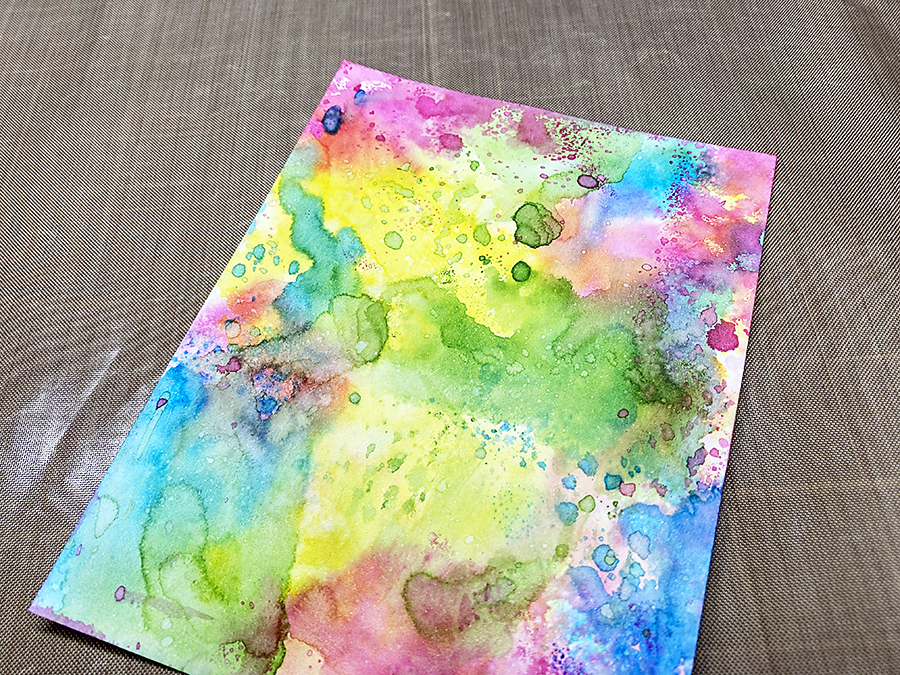
That’s all there is to it! Dry between layers with a heat tool and keep going (adding more ink, water, or colors) until you get something you like. For my card today, I did one color at a time, starting with the Mustard Seed, then Picked Raspberry, Salty Ocean, then finished up the Mowed Lawn.
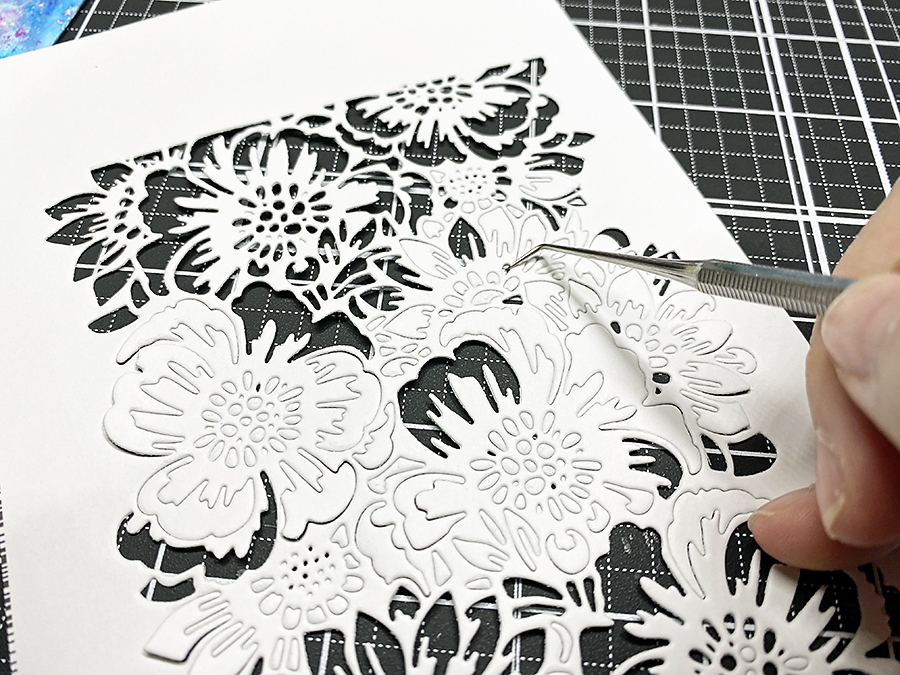
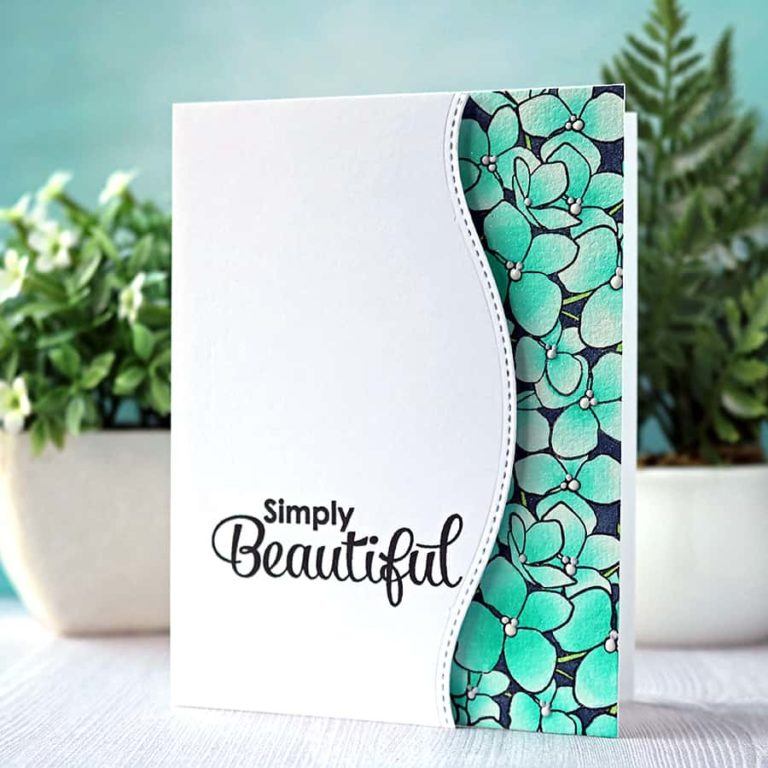
Of course, these colors are super bright, so I did an overlay with a die and white 65# cardstock. The die is called Bouquet from Sizzix/Tim Holtz. I knew I would use wet glue to stick in on, so I added a thin layer of Distress Micro Glaze to stop the ink from reacting with moisture.
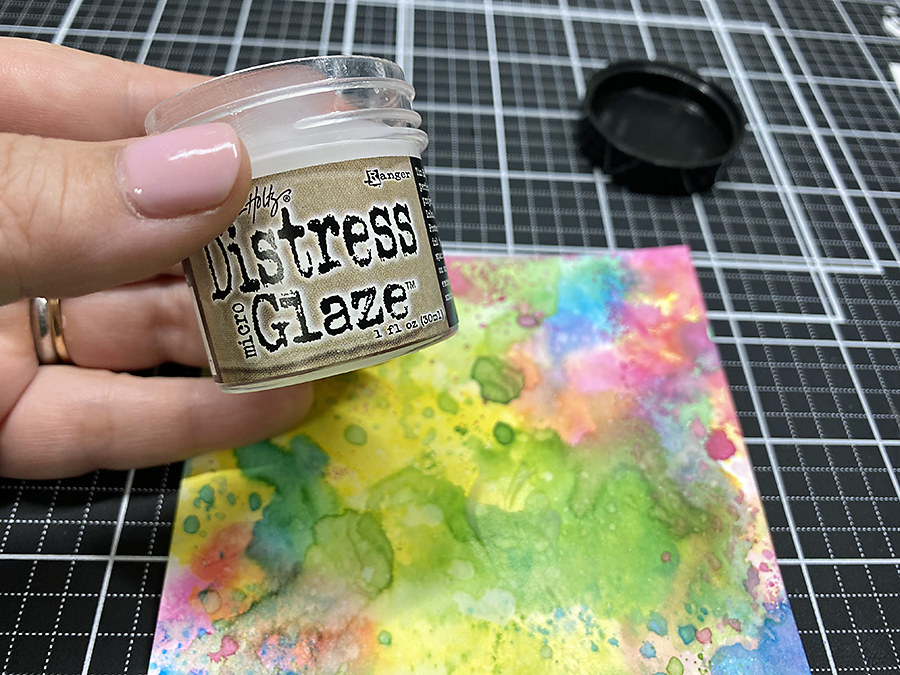
But Niki, you ask, isn’t that glaze like wax? Won’t that keep things from sticking to it?
And the answer is yes. Glue runners won’t work, but Aleene’s Tacky will. Just make sure after you apply the glaze with your fingers and spread it around, buff off as much as you can with a paper towel.
So, once I had the overlay cut and all the pieces poked out, I attached it over the ink smooshed background with the wet glue.
It looked like it was missing something and needed more pink, so I die cut it once again from a hot pink cardstock and inlaid some of the centerpieces.
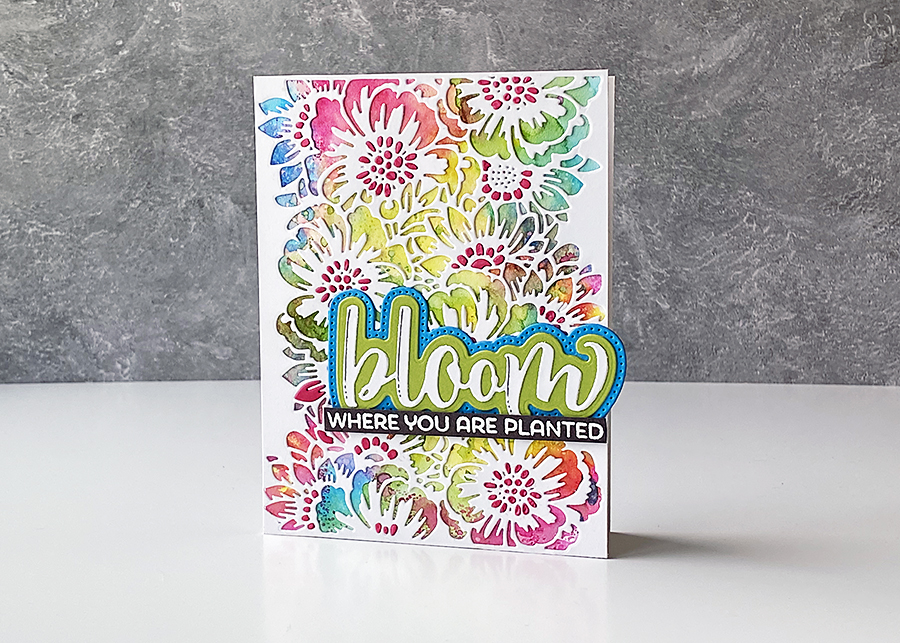
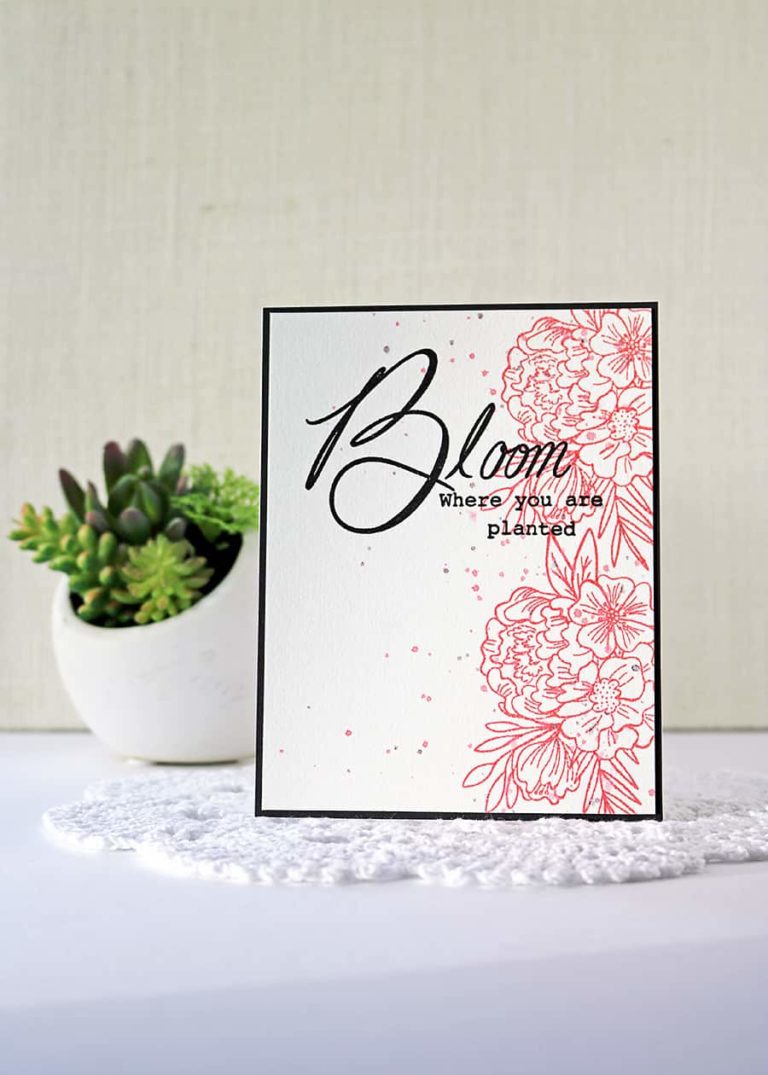
The sentiment comes from Honey Bee Stamps. It’s the Bloom Honey Cut Word Die and the matching Bloom Buzz Words Stamp set. It’s a fantastic set if you do a lot of floral designs. I know I do, especially when I’m making Cricut or Silhouette projects or quilling.
I cut the word once from Neenah Solar White, then once from a bright blue and lime green cardstock. After that, I layered and attached it with Nuvo Deluxe Adhesive. Oh, and I also added a little doodling with a Tul Pen in metallic Gun Metal 😉

The sentiment strip is cut from DCC Grey. I wanted a black one, but it was too harsh a look against the rest of the card. This cardstock is dark gray, and it was perfect. I heat embossed the strip sentiment with Ranger Embossing Powder in White and Inkon3’s Embossing Ink, then adhered it with some foam squares.
Finally, I went ahead and popped it onto the card base, and it was finished. Don’t ya just love those bright flowers?! SO pretty!
Thanks so much for coming by the blog today. Why not save this fancy ink smooshed background card to your Pinterest for later, head on back to the Challenge, and submit your take on these gorgeous summer colors?

Niki, I absolutely love your smooshing background. It’s such a fun technique! I’m very pleased to be working with you on MTCC Design Team.
Such an awesome card! The inlaid pieces totally make your design pop! I really need to do more ink smooshing!
Love your color choice and everything else about your card. So pretty with that die which is a favorite of mine.
Aw thanks, Sheila!!