An Ink Blended Christmas Eve with Whimsy Stamps
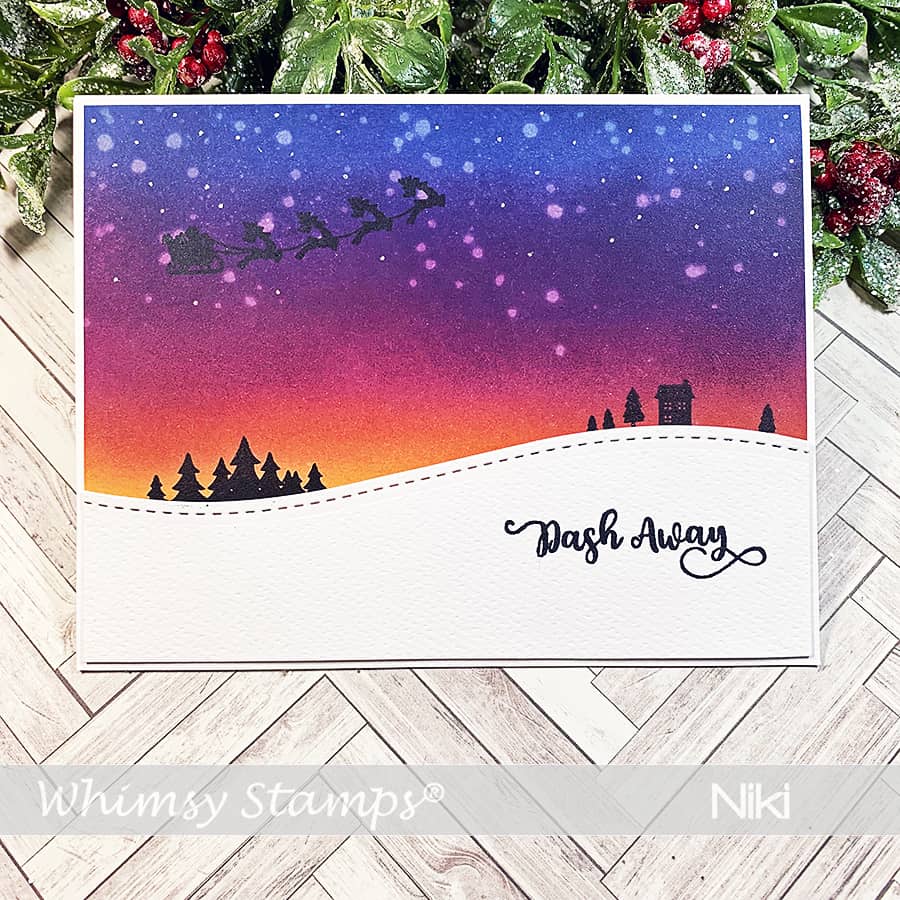
Whimsy Stamps released a particular new stamp set this month that I totally fell in love with. It’s called Dash Away, and it’s so versatile – the sheer number of cards you can make with this set is fantastic. Of course, the first thing I did with it was to create a Distress Ink blended Christmas Eve scene.
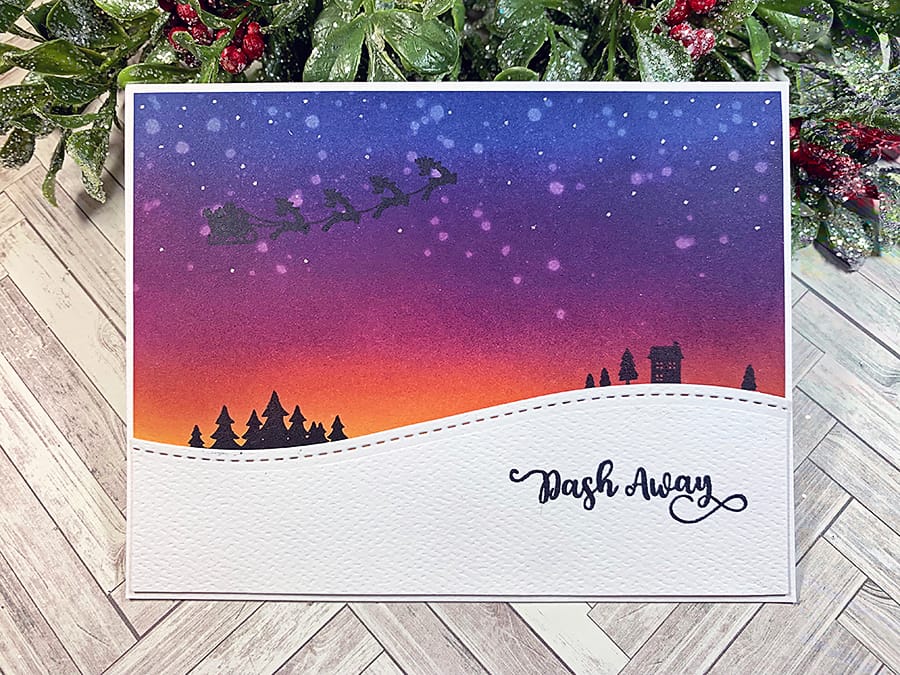
I couldn’t resist. The little silhouette stamps are perfect, don’t you think?
Getting Started & Ink Blending
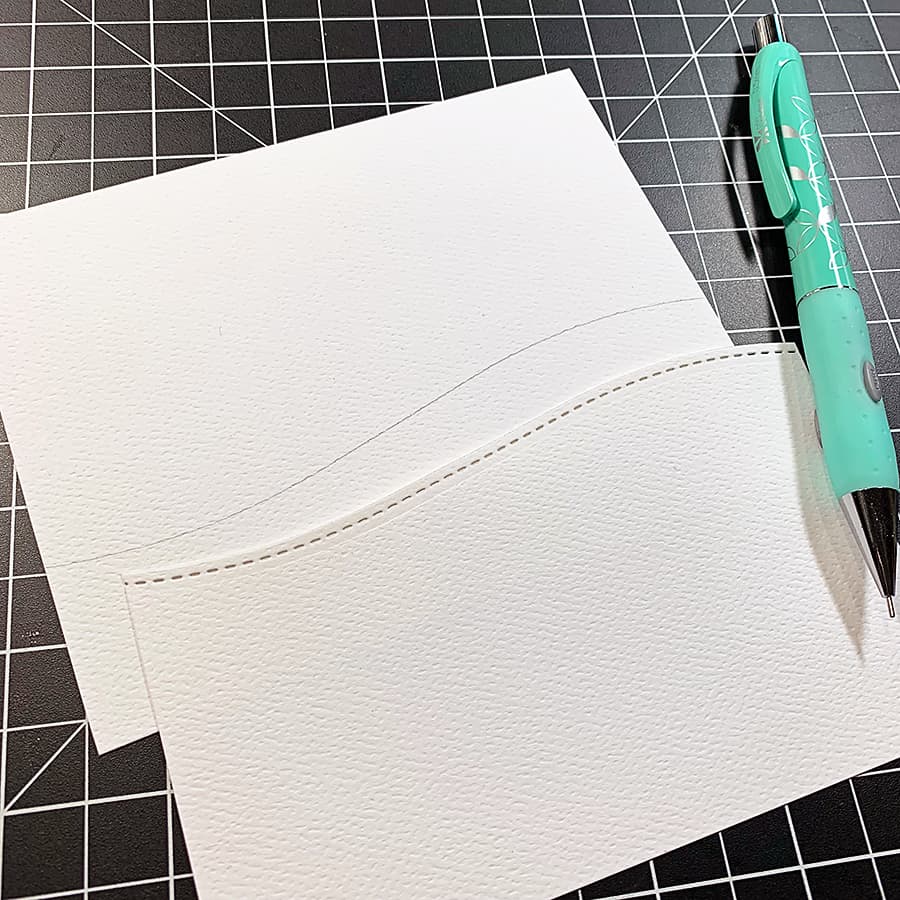
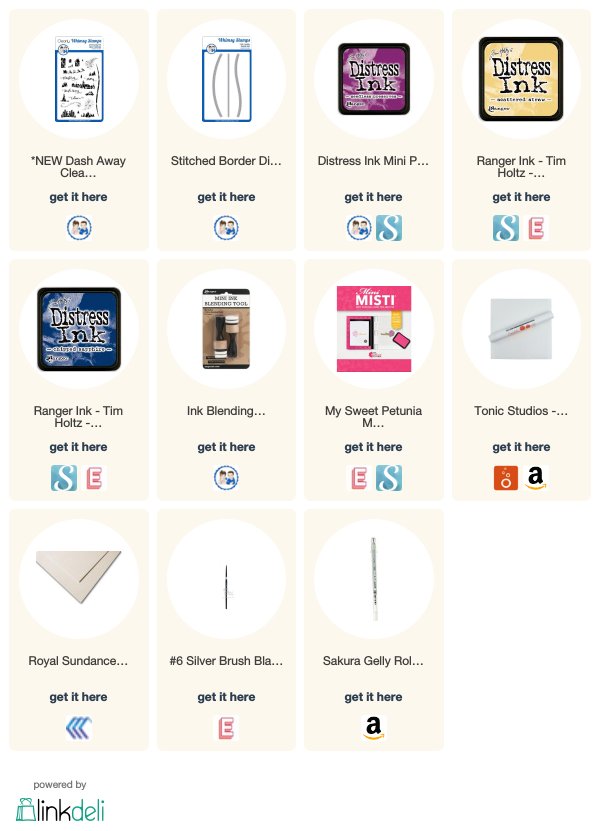
The first thing I did was cut my card front pieces: one 4″ x 5-1/4″ rectangle of Neenah Solar White, and the snowy hill section, which measures 5-1/4″ long by about 1-1/4″ at the low point. I used Royal Sundance Felt Cardstock for that
To figure out where I needed to start with the blending, I drew a light pencil line where I planned to put the hill.
Next, I blended my ink color in from the sides starting with the lightest, Scattered Straw, then moving on to Seedless Preserves and finally to Chipped Sapphire at the top.
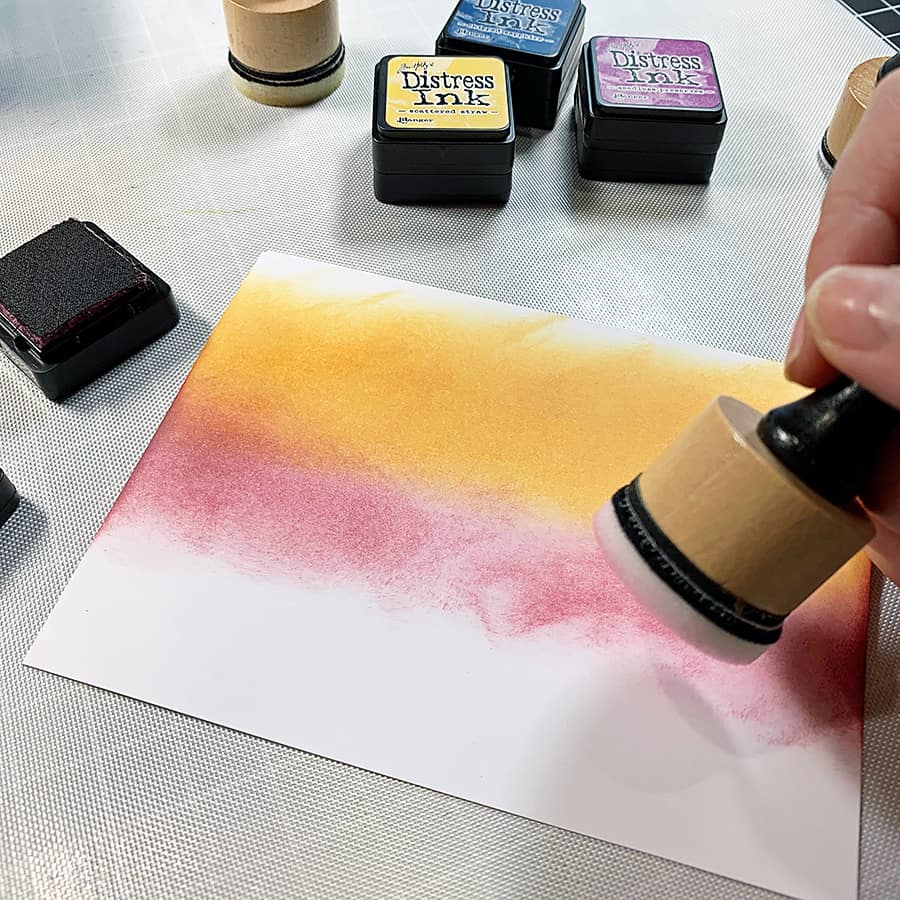
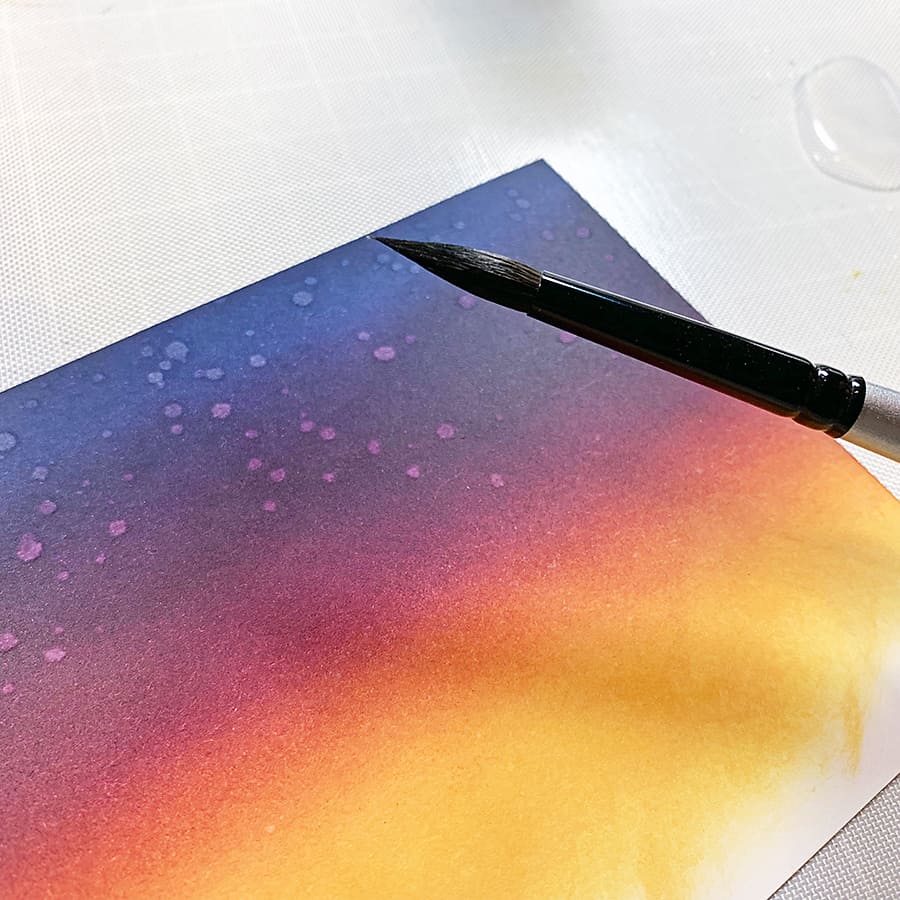
It took a few layers of color to get the blend I was looking for but when it was done, I let it dry just a little bit. Then, I added a few flicks of water with my paintbrush to make the beginning of a snowfall.
Stamping & Finishing Up
I re-drew my pencil line at this point and aligned all my stamps in a Mini MISTI. I stamped the images with Versafine CLAIR in Nocturne. You know, if you make a bunch of backgrounds first, you can mass produce these cards!
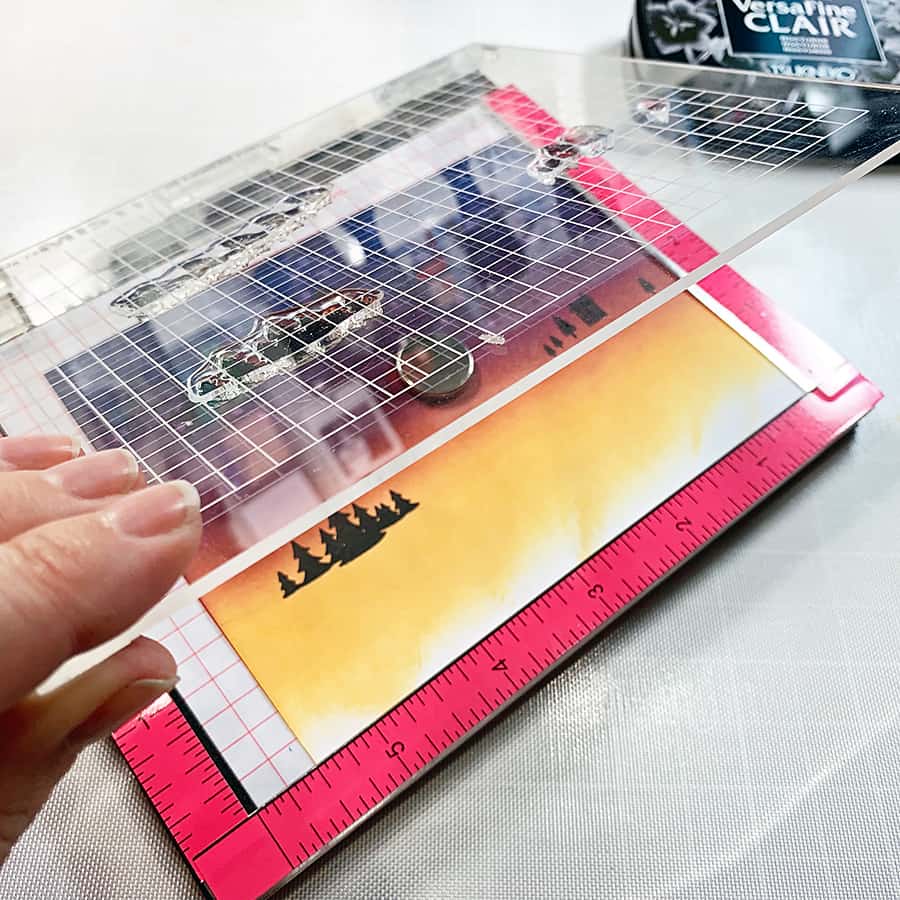
Then, I adhered my snowy hill over the bottom of the inked panel and attached the card front to an A2 card base. And to finish up, I drew some tiny stars with a Silver Star GellyRoll Pen.
Thank you so much for reading about my take on a Distress Ink blended Christmas Eve background today. If you like this card, please share the love by pinning to Pinterest! I really appreciate it!
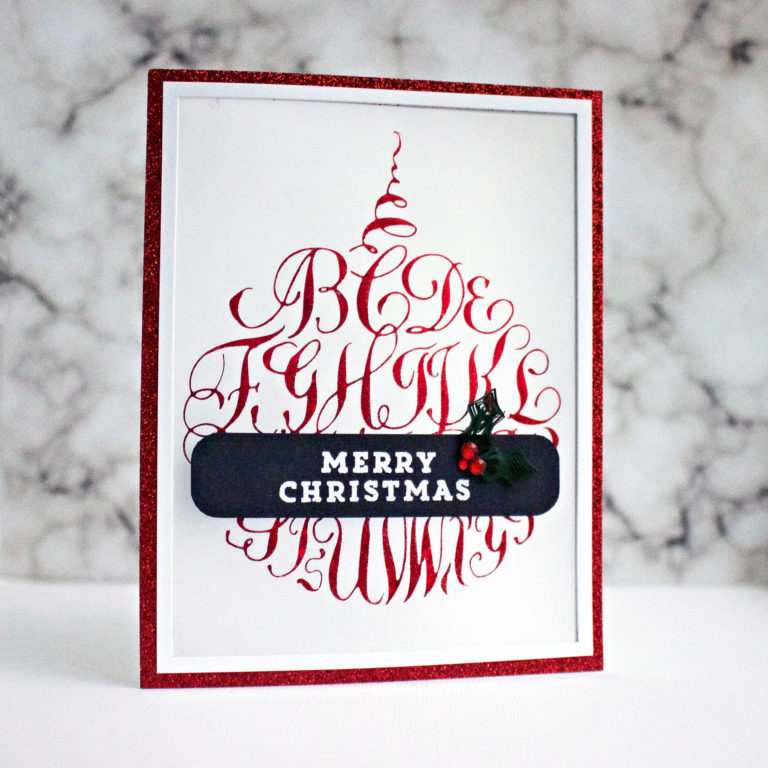
PS – Here’s another ink blended background I thought you’d like!


This is amazing Niki … LOVE it! Thanks for inspiration!
Niki, this is gorgeous hun. Your ink blend is luminous!! Love the colour combo and sweet scene you created. Gorgeous Christmas card hun. Hugs, Wends xoxo
Aww, thank you Wendy! You’re so sweet