Be Mine, Valentine Blog Hop with CutCardStock
Hello and welcome to my stop on the Be Mine, Valentine Blog Hop from CutCardStock! In case you stepped into the middle of the hop, you can find the complete list below.
The Backstory
If you’ve been following me for a bit, you probably know I’m a copywriter. What you might not know is I’m also the receptionist at a bustling salon during the day. You also might be wondering what this has to do with the Valentine blog hop… and I’m glad you asked!
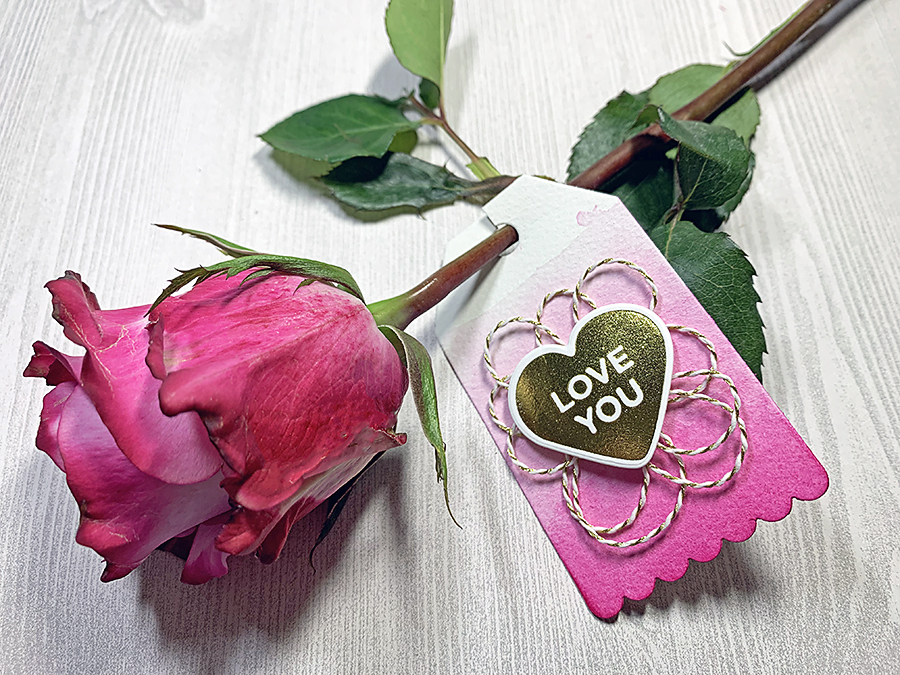
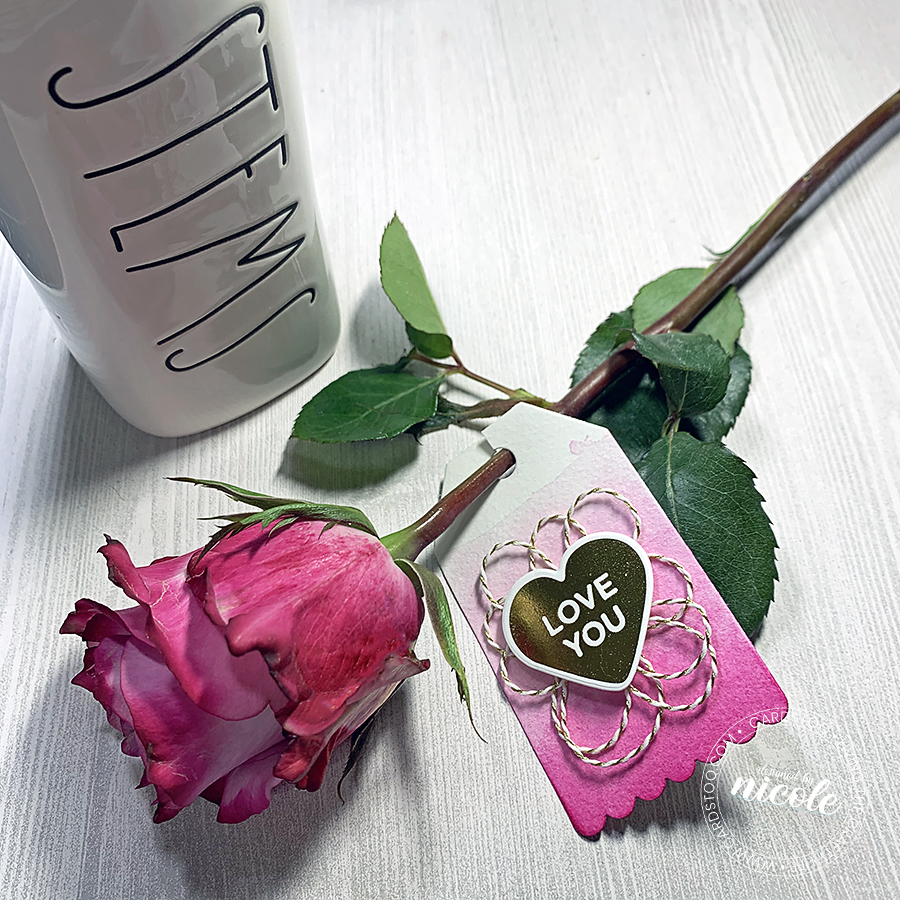
Each Valentine’s Day, the boss lady picks up a few dozen of the prettiest roses to give out to clients. I thought it would be nice to add some pretty tags to this year’s flowers.
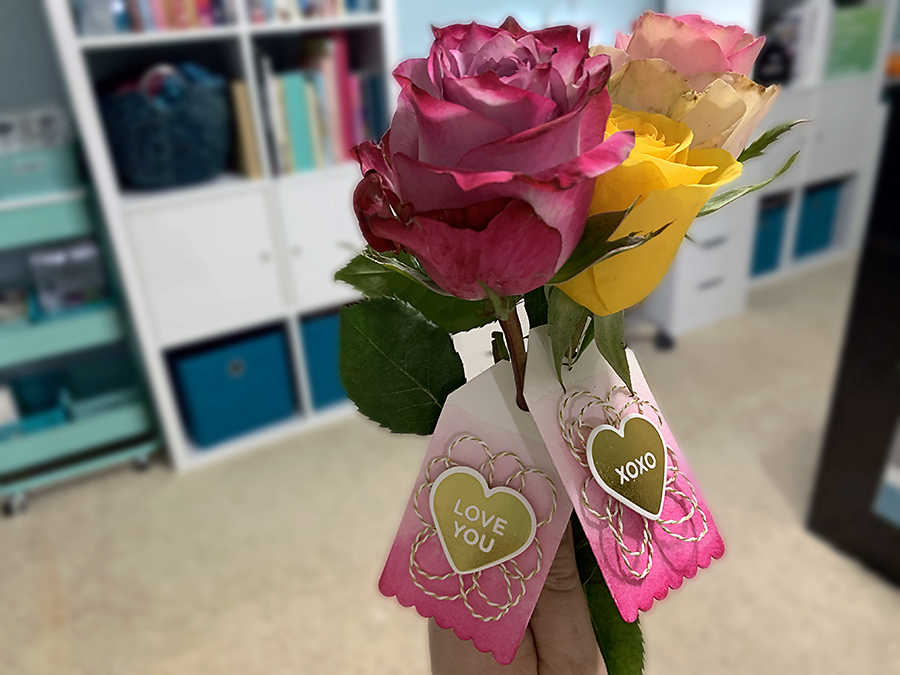
Of course, you can customize the tags you make for any recipient; be it your favorite teacher, your sweet partner, or a lovely friend 🙂
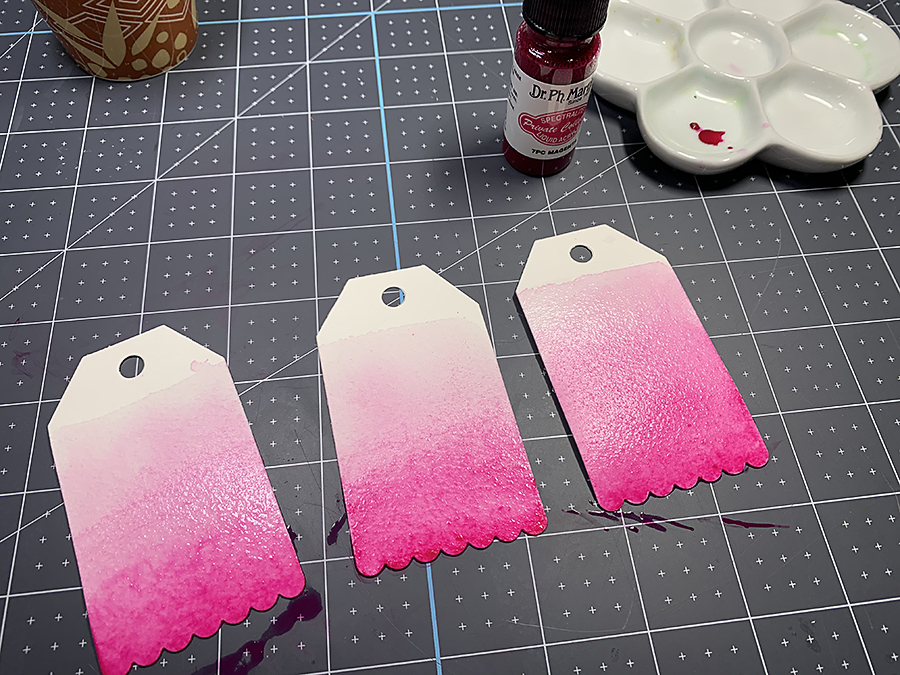
I got the inspiration for these tags from one of my favorite pink ombré tops. My favorite way to make a nice, dreamy ombré effect is with watercolors.
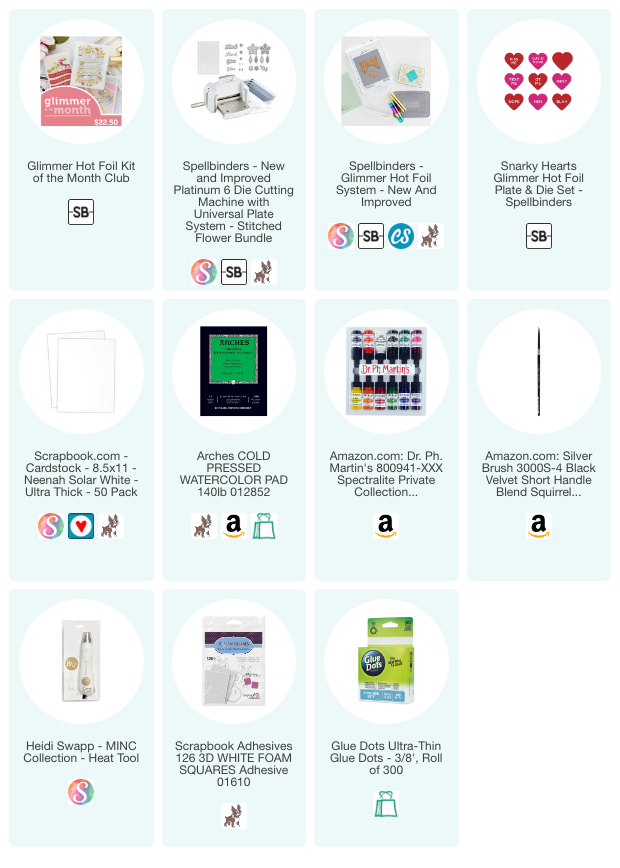
Actually, in this case, I chose to use Dr. Ph. Martin’s Spectralite Liquid Acrylics in Magenta because I LOVE the vibrancy of the pigment in these paints.
Putting It Together
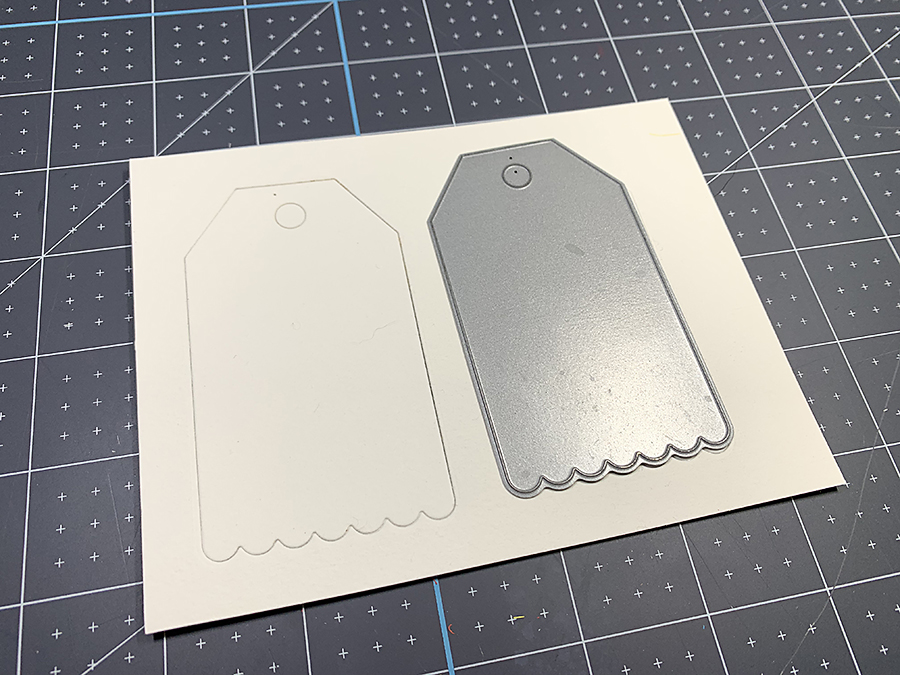
To get started, I die cut some tags from a piece of Arches Watercolor Paper with a Scalloped Tag Die from Paper Smooches.
Next, I added a good amount of water to the bottom two-thirds of the tag with my favorite paintbrush. Not so wet that it drips, but enough that the water moves easily when the tag is tilted.

Since there’s a sort of a puddle on the tag, all I needed to do to add color was dip the tip of my brush into a drop of the paint and dab it right along the bottom at the scalloped edge. You can move the brush upwards in a sweeping motion if you want the color to blend further up on the tag.
I hit the tags with my heat tool to dry them, and then it was time to add some shine!
I’ve always liked the look of the thread nests (bunches, balls, tangles..?) that others have used on cards, but I didn’t have a nice gold thread on hand. Instead, I used some baker’s twine I found at Michael’s years ago. And I’m happy I did – the chunky texture is kinda neat, don’t you think?

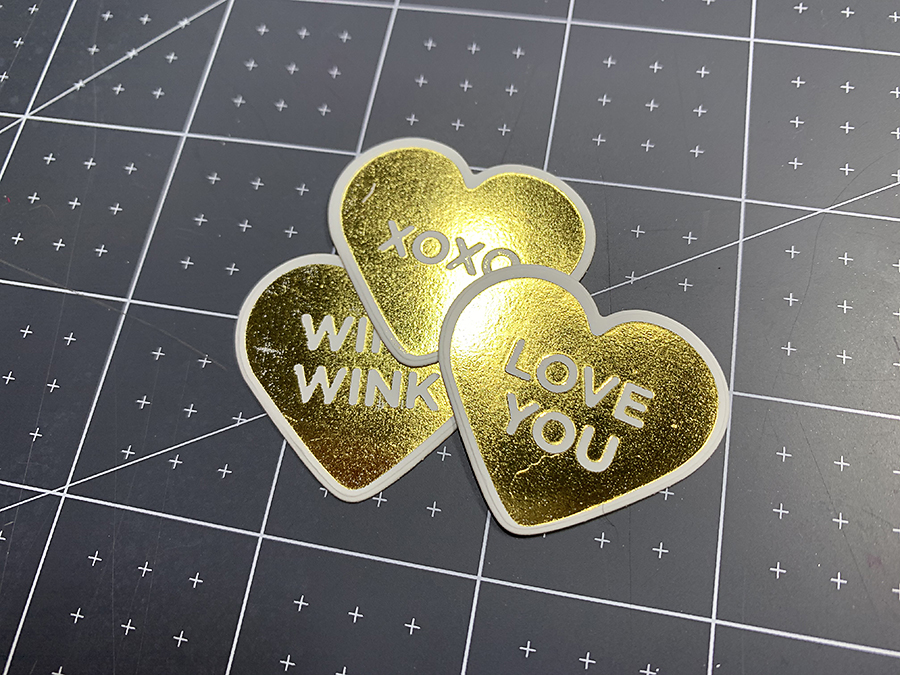
I used a super sticky Glue Dot to hold the twine in place, and then I went to work on foiling some conversation hearts.
The hearts that are used are from the Spellbinders Glimmer Hot Foil Kit of the Month for January, called Signed, Sealed, and Delivered. These kits usually go fast, so if you’re interested, I’d suggest subscribing before you miss out on something lovely. Ask me how I learned that lesson, lol!
I’m not sure this set is still available, but you can certainly grab the Snarky Hearts set – you’ll get a kick out of the sentiments on them 😉
I used a Glimmer Hot Foil System to foil these hearts onto a piece of smooth Neenah Solar White, then die cut them with the coordinating die.
To attach them to the middle of the tag, I pressed a foam square down over the Glue Dot and centered them with my favorite tweezers.
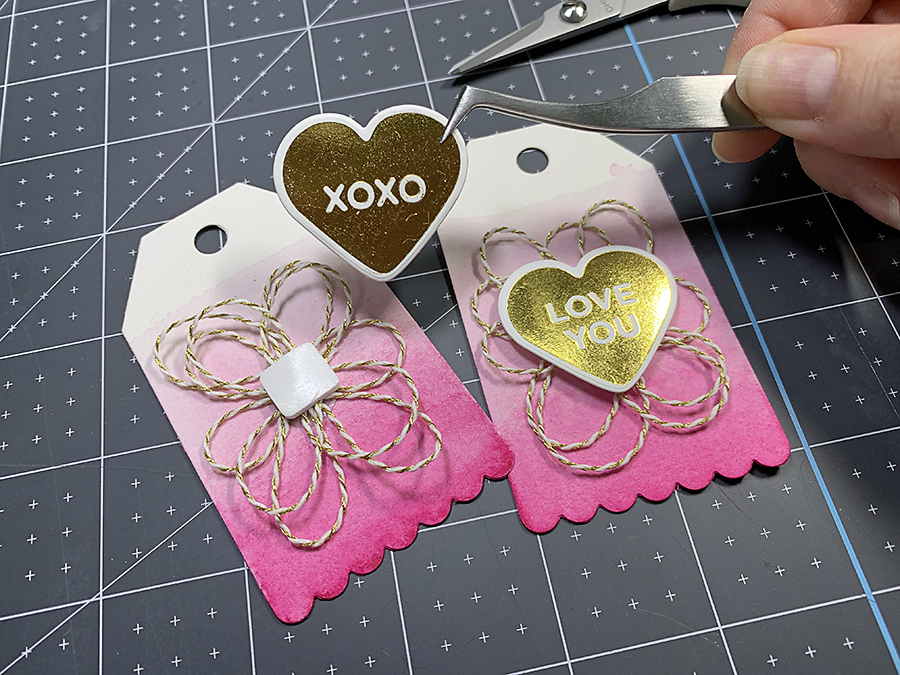
Then, I snipped the top of the tag to clip it onto the rose stem. The hole is a perfect size!
Thanks for hopping along today! On to your next stop on the Valentine Blog Hop, over at Notable Ink with Amber Rain.
The full hop list is below!
- CutCardStock.blog
- Niki <– you are here
- Amber Rain
- Betz
- Teri
- Samantha
- Crystal
- Heidi

Be sure to head back to the CutCardStock blog when you’ve soaked up all these lovely projects and upload your own for a chance to win a $40 gift card to the CutCardStock store.
I can’t wait to see what you make! Oh, and don’t forget to pin this idea for later 😉
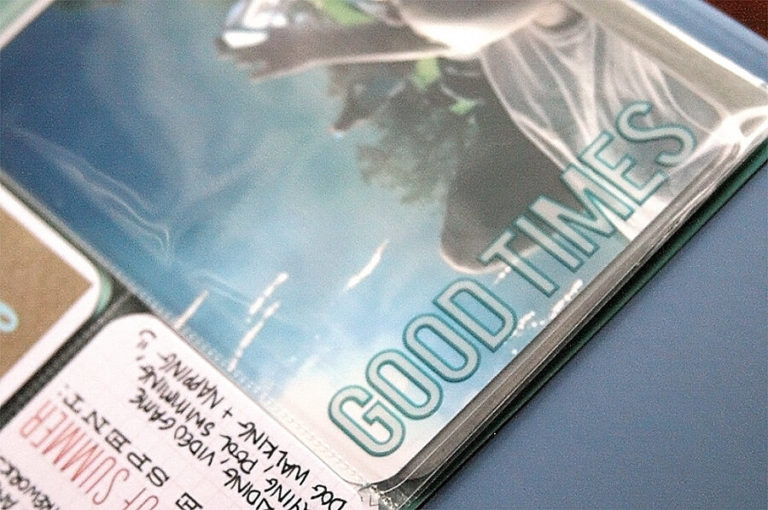
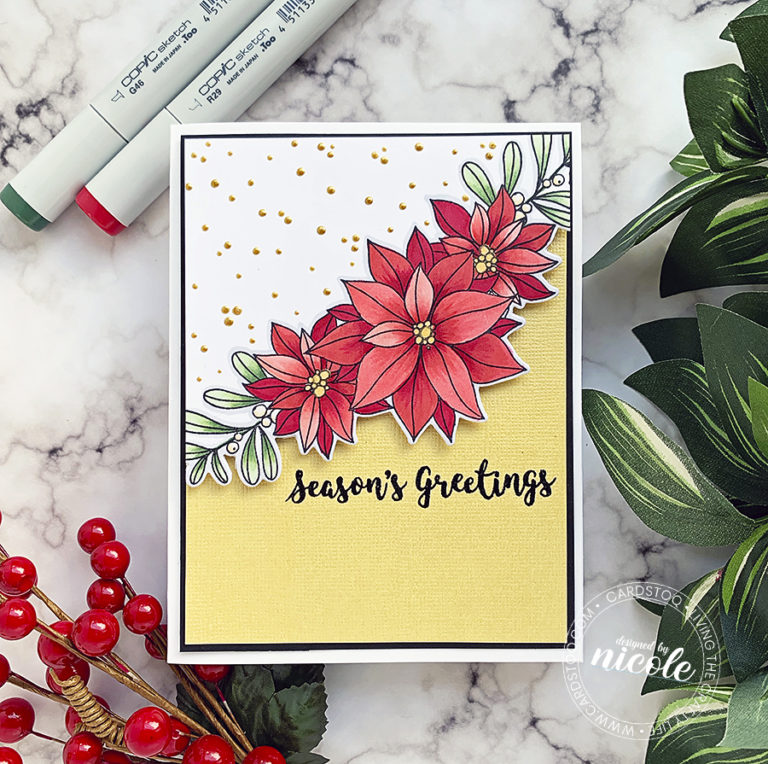
PS: Here’s another foiled project you might like!

Such pretty tags! Love the gold!
Thanks, Jean!
Fantastic idea for a personal touch. I like the twine and the final shaping on the card.
Thanks, lady!
Such a sweet thing to add to those lovely flowers!
It came out pretty cute, huh? Wish I had the snarky hearts too… I have the perfect people for some of them XD
Those tags are so pretty and such a great idea!
Thanks Crystal!
Pretty tags for these roses. I like how you made the ombre background.
Thanks, Sue!
Pretty tags! Love the ombre coloring and the details you added!
Thank you, Denise!
Beautiful tags! Thanks for the chance to win and sharing.
I love making gift tags. Thanks so much fir these ideas.
I just noticed that my email may have been wrong. It is pamrohrkemper@sbcglobal.net.
I gotcha Pam, Thank you!
What a kind thought to include the tags with the roses!!! And they are stunning! Oh wow you do that baker’s string thing far better than I do! I best get to practicing! Thanks for the inspiration 🙂
I did figure 8’s and kept pressing down onto the glue dot each time I crossed it – that made it much easier to do!
What a cute idea! Really cool rig and I am super impressed with the way you twisted or knotted that twine! It looks so neat!
Thanks Stefanie!
Beautiful tags, matches the rose perfectly. Your video was very helpful since I’m still trying to master water coloring.
Thanks, Sandy! The trick is to let the water do the work, don’t fight it. And less is more!
Lovely post, Niki! It was so nice to learn a bit more about you!! Your tags are perfect and your photos are just awesome.
Thanks Amber!